Q&N Fashion Factory
How to Sew a Cosmetic Bag: A Beginner-Friendly Step-by-Step DIY Guide
A handmade cosmetic bag is one of the best “first zipper projects” because it’s small, practical, and easy to customize. With the right fabric choices and a clean zipper install, you can make a bag that looks store-bought—without complicated patterns.
In short: cut the fabric + lining, add interfacing for structure, install a zipper, stitch outer and lining together, box the corners (optional), turn right-side out, and topstitch for a professional finish.
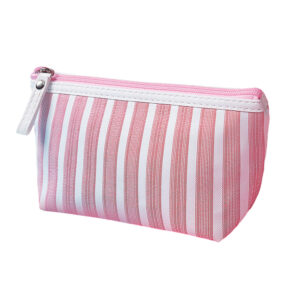
What You’ll Make
A simple zipper pouch cosmetic bag (lined), suitable for makeup, toiletries, travel minis, or daily essentials.
Skill level: Beginner → Confident Beginner
Time: ~60–120 minutes
Machine: Any basic sewing machine with a zipper foot
Materials & Tools (What You Actually Need)
Fabric
- Outer fabric: quilting cotton, canvas, or medium-weight polyester
- Lining: waterproof fabric (PUL/laminated cotton) or regular cotton
- Interfacing (recommended): medium-weight fusible for structure
Interfacing reference (choosing fusible vs. sew-in):
- Threads Magazine: A handy chart of fusible and sew-in interfacings
https://www.threadsmagazine.com/project-guides/learn-to-sew/a-handy-chart-of-fusible-and-sew-in-interfacings
Interfacing product category reference (manufacturer):
- Pellon® Interfacing (official product categories)
https://www.pellonprojects.com/products-categories/interfacing/
Notions
- 1 zipper (8–10 in / 20–25 cm is a great start)
- All-purpose polyester thread
- Optional: zipper tabs (small fabric scraps), label/tag, bias tape
Tools
- Sewing machine + zipper foot
- Scissors or rotary cutter + mat + ruler
- Pins or clips
- Fabric marking tool/chalk
- Iron + ironing board (important for crisp results)
Zipper foot usage (official machine help):
- Brother USA: How do I use the zipper foot?
https://help.brother-usa.com/app/answers/detail/a_id/184825/~/how-do-i-use-the-zipper-foot%3F---video-included - Brother USA: How to insert a zipper using the zipper foot
https://help.brother-usa.com/app/answers/detail/a_id/59099/~/how-to-insert-a-zipper-using-the-zipper-foot
Simple Cosmetic Bag Measurements (No Pattern Needed)
You can scale this easily, but here’s a reliable “first bag” size:
Cut:
- Outer fabric: 2 pieces — 10" × 7" (25.5 × 18 cm)
- Lining fabric: 2 pieces — 10" × 7"
- Fusible interfacing: 2 pieces — 10" × 7" (for outer pieces)
Finished size (approx.): 9" × 6" (23 × 15 cm), depending on seam allowance and zipper.
Seam allowance: 3/8" (1 cm) recommended for bags.
Step-by-Step: How to Sew the Cosmetic Bag
Step 1) Prep the Fabric
- Pre-wash and press cotton fabrics (optional but helpful).
- Fuse interfacing to the wrong side of both outer pieces.
- Press everything flat—this improves accuracy and gives a cleaner finish.
Pro tip: pressing is not optional if you want a professional result.
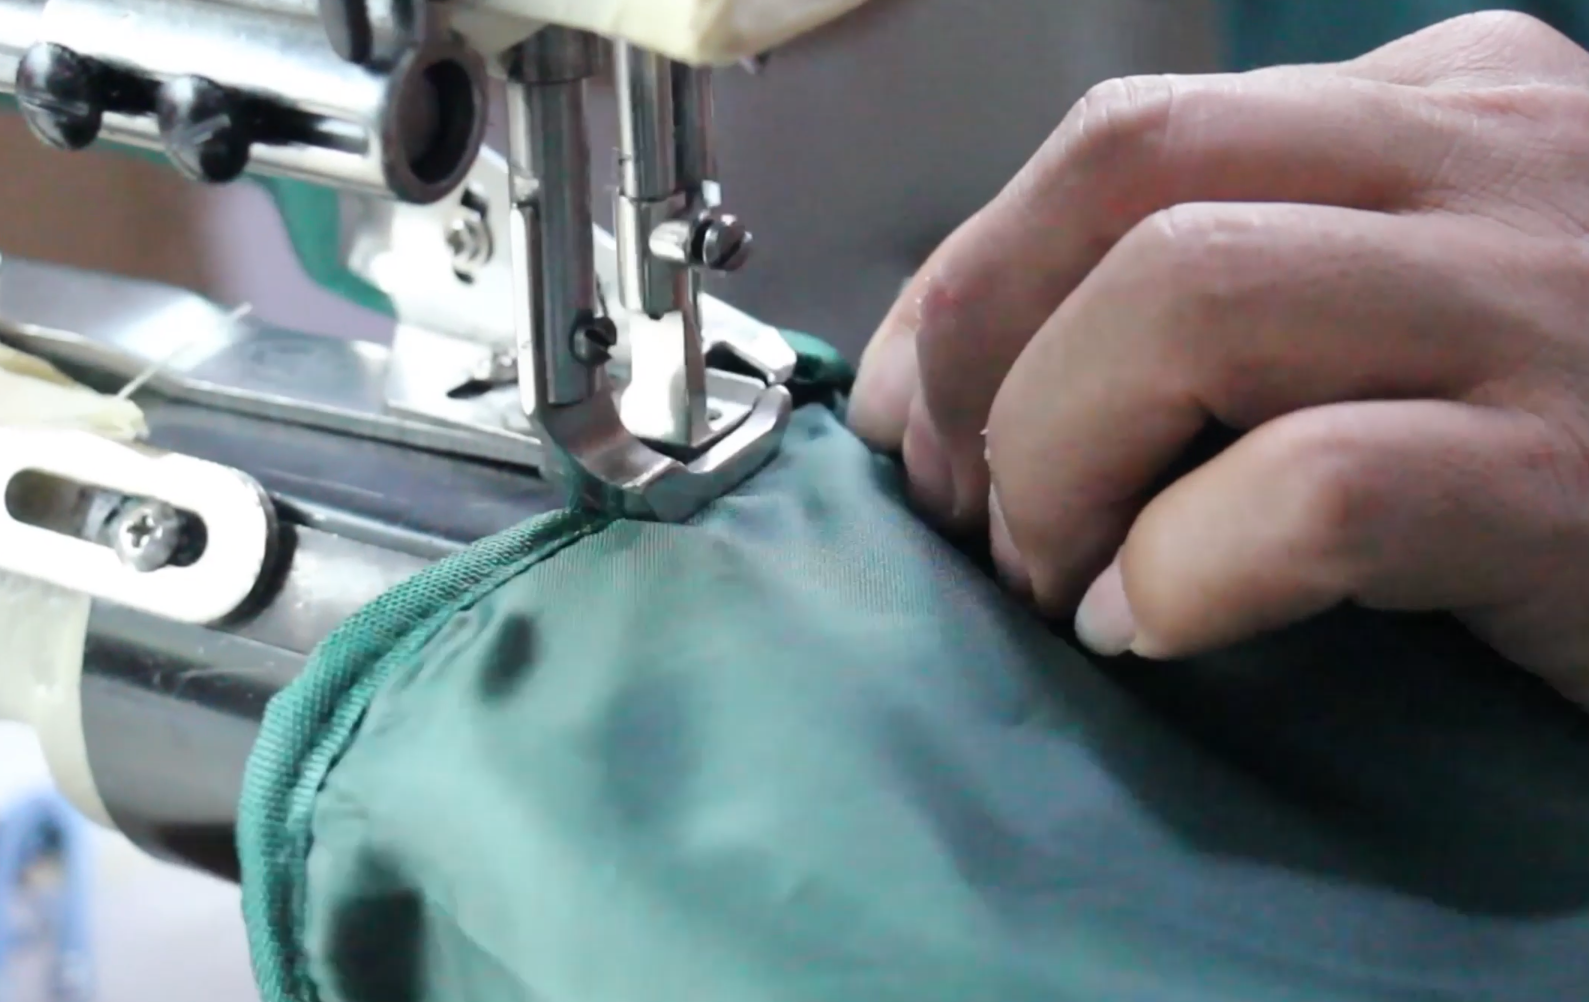
Step 2) Install the Zipper (Beginner Method)
You’ll make a “zipper sandwich.”
- Place outer fabric right side up.
- Put the zipper right side down along the top edge.
- Place lining right side down on top (outer + zipper + lining aligned).
- Clip/pin, then stitch along the zipper with a zipper foot.
- Flip fabrics away from zipper and press.
- Repeat for the other side:
- Outer right side up → zipper right side down → lining right side down → stitch.
- Press again, then topstitch near zipper edges (optional but looks pro).
Official zipper-foot guidance (brand reference):
- Singer (guide): https://singerco.com.au/howto/how-to-use-the-zipper-foot/
- Brother (narrow zipper foot tutorial): https://sewingcraft.brother.eu/en/blog/tutorials/2024/how-to-use-the-narrow-zipper-foot
Step 3) Stitch the Bag Body (Outer + Lining)
- Open the zipper halfway (important for turning later).
- Pull the outer fabrics together (right sides facing).
- Pull the lining fabrics together (right sides facing).
- Stitch around the perimeter:
- Sew all around, but leave a 3–4" turning gap in the lining bottom.
- Trim corners to reduce bulk.
Step 4) Box the Corners (Optional, Adds Depth)
If you want a “stand-up” bag:
- At each bottom corner, pinch the corner into a triangle.
- Measure 1–1.5" (2.5–4 cm) from the point.
- Draw a line and stitch across.
- Repeat for outer and lining corners.
- Trim the excess triangle.
Step 5) Turn, Close, and Finish
- Turn the bag right-side out through the lining gap.
- Push corners out gently (use a blunt tool).
- Stitch the lining turning gap closed (machine or hand).
- Push lining into the bag.
- Final press, and topstitch the top edge if desired.
Seam Finishes That Look Professional (Without Extra Machines)
Option A: Clean seams + trim and press (fast)
- Best for stable fabrics and beginners.
Option B: French seams (clean inside, no raw edges)
French seams are great for light fraying fabrics (like cotton).
French seam reference (seam finish tutorial):
- Threads Magazine: How to Sew French Seams and Lapped Seams
https://www.threadsmagazine.com/project-guides/learn-to-sew/learn-how-to-sew-french-seams-and-lapped-seams-to-finish-seam-allowances
Common Mistakes (And Quick Fixes)
- Zipper won’t turn smoothly: topstitch closer to zipper tape; press seams flatter.
- Bag won’t turn right-side out: zipper wasn’t opened before stitching—always open halfway.
- Corners look bulky: trim corners and grade seam allowances before turning.
- Wavy zipper seam: use clips, reduce speed, and press after each seam.
FAQ (Great for Google Snippets)
Can I sew a cosmetic bag without interfacing?
Yes—but it will look softer and may collapse. Interfacing helps the bag hold shape and look more “store-bought.”
Reference: Threads interfacing chart
https://www.threadsmagazine.com/project-guides/learn-to-sew/a-handy-chart-of-fusible-and-sew-in-interfacings
What lining is best for a makeup bag?
Water-resistant linings (PUL/laminated cotton/vinyl) are easiest to wipe clean. If using vinyl, use clips instead of pins to avoid holes.
What zipper length should I use?
8–10 inches (20–25 cm) is easiest for beginners. Longer is fine—you can shorten it after you gain confidence.
Final Tip: Make One “Practice Bag” First
Use affordable fabric for your first one, then upgrade to premium materials and hardware. Once you master clean zipper installation and crisp pressing, your cosmetic bags will look professional every time.